Guest access
If you want to make content (e.g. files from the cloud) accessible to certain people, even though they do not have a Hubzilla account, but otherwise not to the public, you used to have to juggle with guest access tokens.
In the more recent versions of Hubzilla, this has now become much easier.
You work with guest accounts. Anyone who is logged in with such a guest account can see everything that is publicly accessible and also everything that the person assigning the guest account has authorised for this particular guest account.
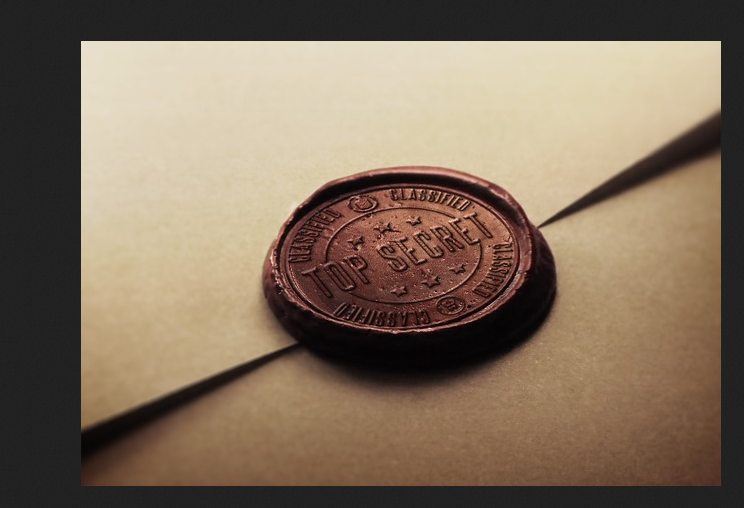
Let's assume we have uploaded a ‘secret’ graphic with the file name ‘secret.png’ to our cloud and want to make this file accessible to a user who does not have a Hubzilla account.

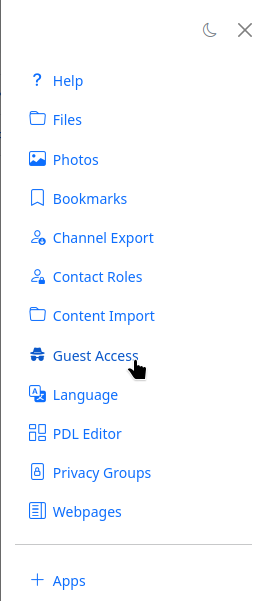
We create a guest account for this purpose. This is done with the app (app menu ⋮) ‘Guest access’.
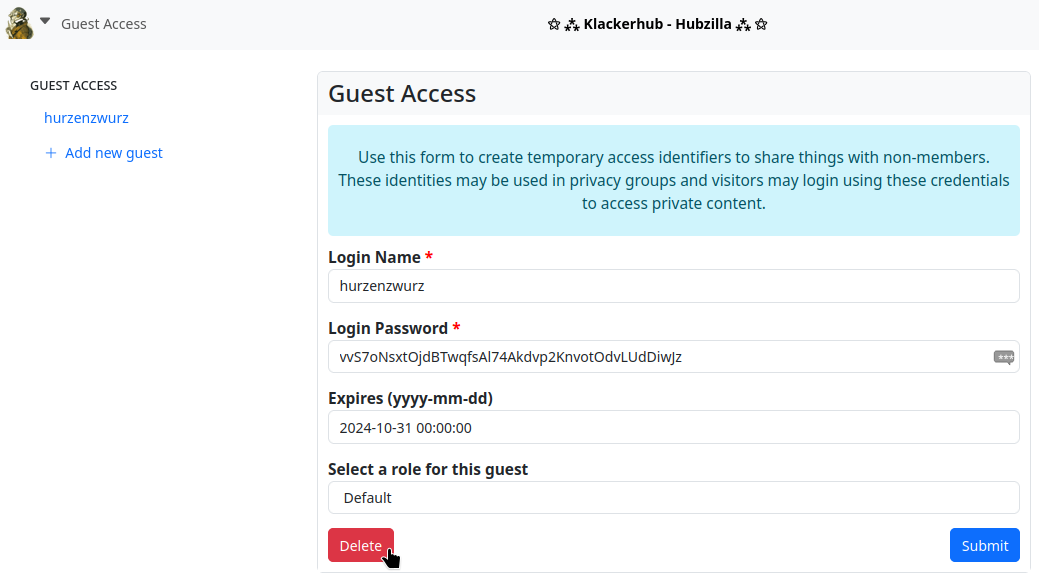
An input form for the guest access data is displayed. Here you can create a temporary user name. A password is created automatically by the system. This data (name / password) must be communicated to the person to whom you wish to grant access.

You can also enter an ‘expiry date’ for guest access here (or leave the field blank for unlimited access). After the expiry date, the guest access is automatically deleted.
As long as you have not yet defined your own roles, the default setting for the role is ‘Standard’. You can leave this as it is unless you have any special plans.
Now click on ‘Submit’ and the guest account is created.
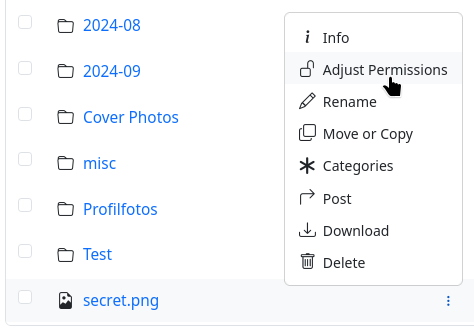
Now open the ‘Files’ app in the app menu and upload the file there.
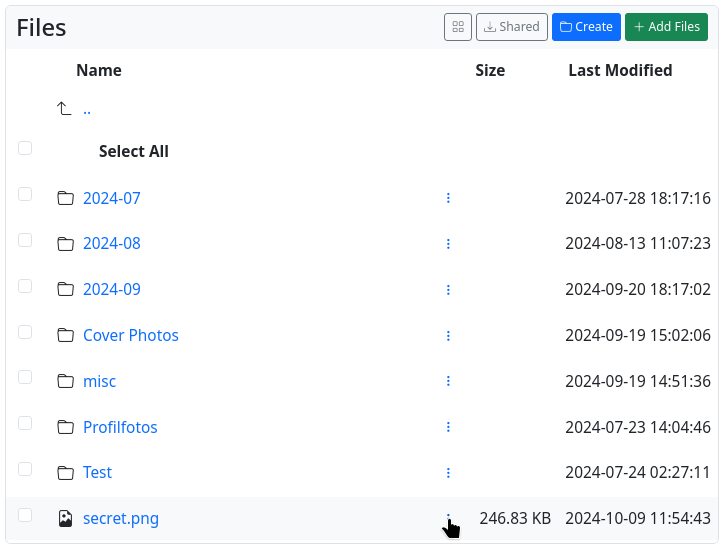
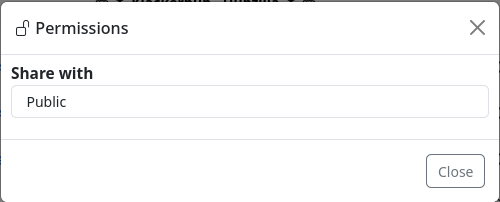
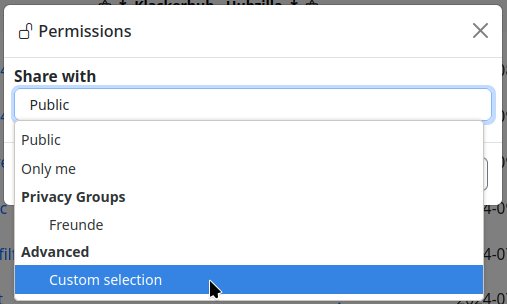
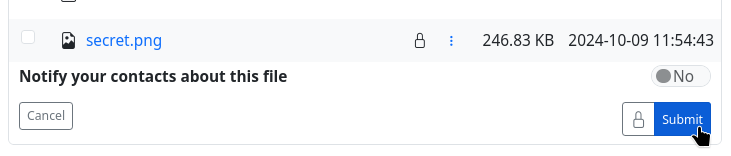
Then open the context menu (︙) of the file and select ‘’Adjust permissions‘’.) A small padlock symbol now appears below the file list, which you click on. It is now possible to select the access authorisations from a range of standard authorisations. For our purposes, we select ‘Customised selection’.

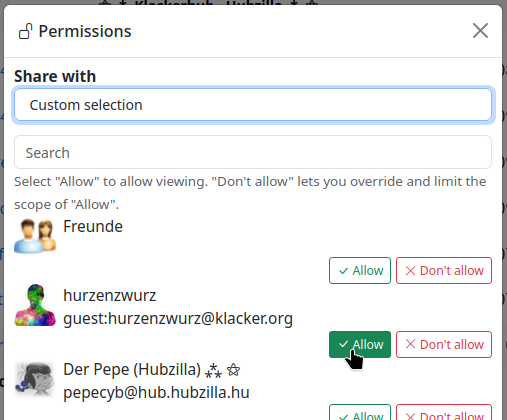
Our newly created guest account appears in the group and contact list that appears. Grant it access authorisation (click on ‘Allow’) and then close the list.
Once this is done, click on the ‘Submit’ button next to the padlock symbol (which now shows a closed shackle) and you're done.
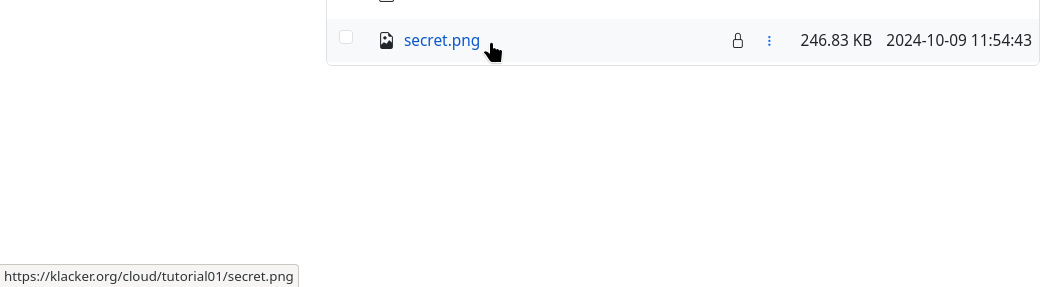
The URL for the file is displayed when you move the mouse pointer over the file name.
With the settings selected now, only we ourselves and the guest account can access the file. Users who are not logged in to Hubzilla and even users with their own Hubzilla account cannot see the file.

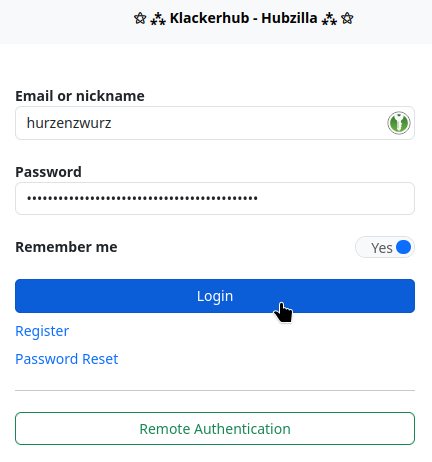
If the user who has the access data for the guest access logs in with this data, the file is made accessible to them.

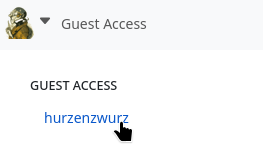
If you want to delete the guest account at some point before the expiry date, click on ‘Guest account’ in the app menu. The guest accounts are listed in the left-hand sidebar. Select the guest account to be deleted and click on ‘Delete’ in the screen that appears.